How to Set Up your Snowboard Bindings with Jamie Nicholls
13 December 2017
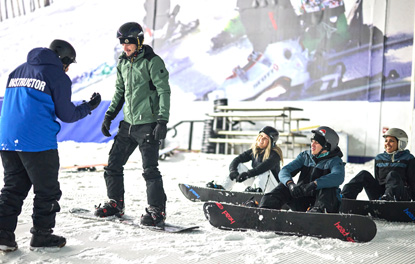
You’ve picked up a new board and bindings, you can’t wait to hit the slopes and try it out, but you’re going to need to set the bindings up first…
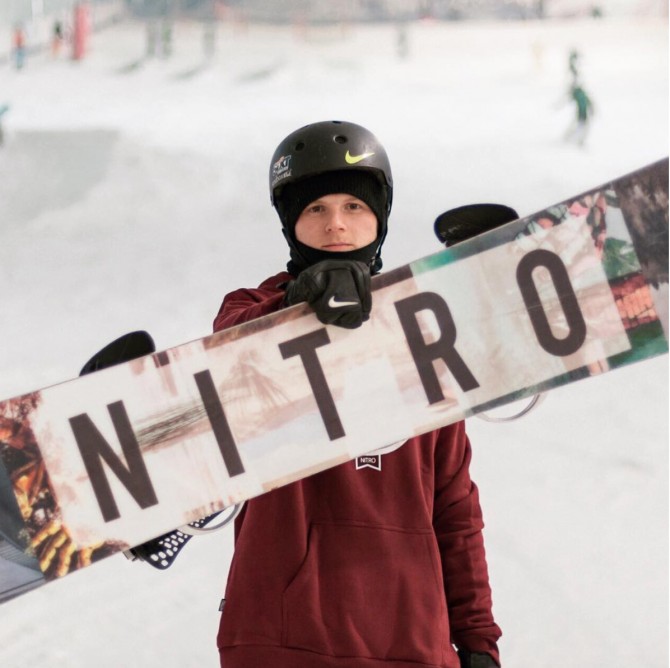
How you set up your snowboard bindings makes a difference to how the board feels to ride. So, taking some guidance from the experts can help you find the right setup for you. To get you on your way, we asked professional snowboarder, GB Olympian, Jamie Nicholls how he sets up his snowboard bindings.
1. Jamie, snowboard bindings can be set up in different stances to benefit various styles of snowboarding, can you explain what is meant by ‘stance'?
“In snowboarding, ‘stance’ refers to the position your bindings are on the snowboard. This includes, the width between the left and right bindings and the angle the bindings are set at. If there is a designated nose and tail of the board, the stance also describes which the leading foot is. A ‘regular stance’ describes a snowboard with the bindings set to have the left foot leading, while 'goofy' describes the right foot leading. Often, the leading foot is the one that has its bindings set at a slightly higher angle than the other, but some snowboarders set an identical angle on both feet.
Mostly, everyone has a different stance that’s suited to them, one they can feel comfortable riding around the mountain with. I am a ‘goofy’ rider, so my right foot leads, making my right binding the front one. My stance is set at plus 15 degrees on the front foot and negative 12 degrees on the back foot. I have a 22-inch-wide stance; this is the distance between my bindings.
Some people like a narrow stance as it's easier on the knees and it also feels a lot nicer when riding freestyle, that's why mine is only 22 inches wide. It's personal preference really! There’s loads of theories on how to work out roughly how wide to put your bindings; some people say the bindings should be separated by the length of your forearm, but really it’s whatever you’re comfortable with.”
2. How do you set up your snowboard bindings?
“Everyone will have their own way of doing it, but here’s mine!
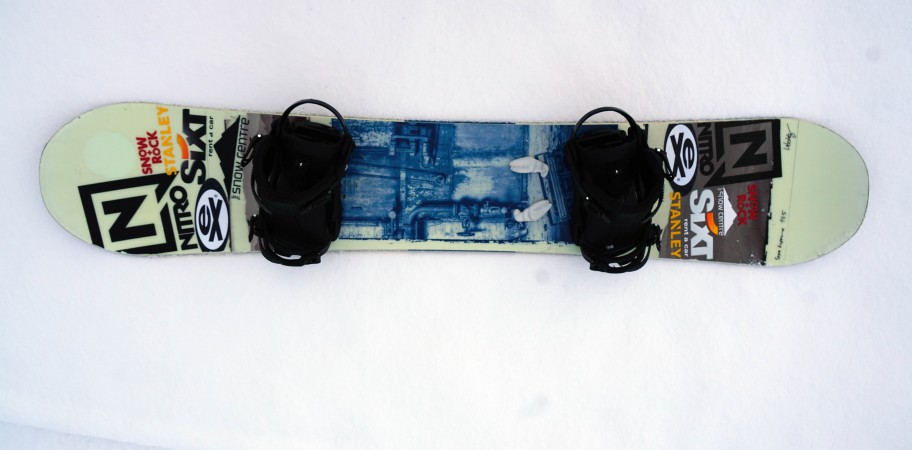
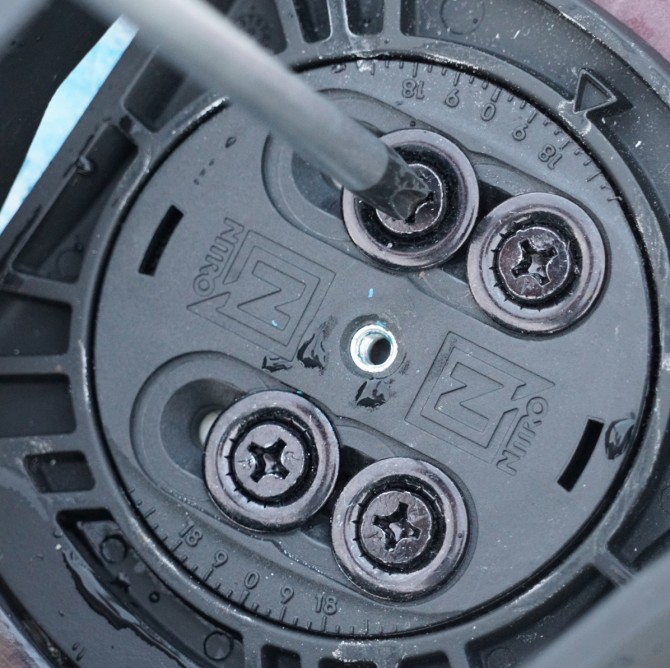
When looking at your board without the bindings attached, you’ll find a standard board will have a number of holes to bolt the bindings to the board with. There are more holes than you need. So, firstly I look for the numbers written on my snowboard around where the binding holes are. Most boards will have the widths between the bindings written on the board next to the binding holes, this helps me work out what holes to use for the stance width I want.
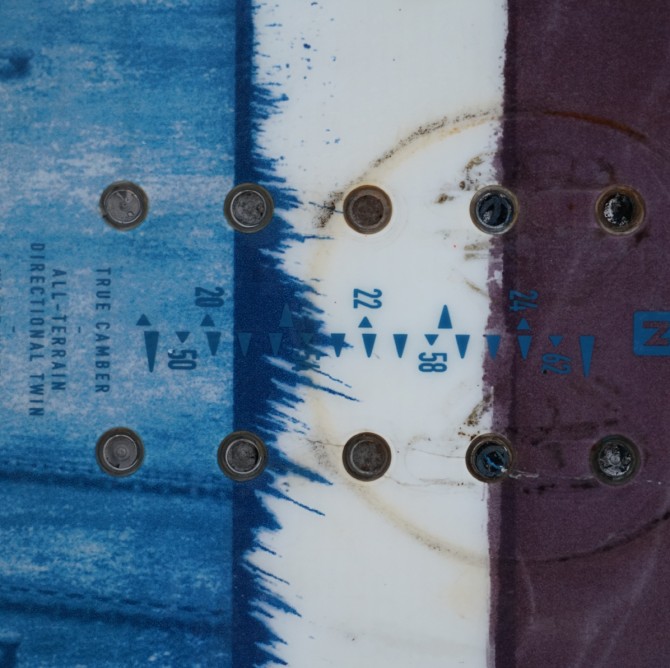
Then you need to set the angles of the bindings. On the binding disk plate there are normally numbers that say 0, 9 and 18. There are also little markers in-between the numbers that go up by 3 degrees. I turn the disk plate and click it in at plus 15 degrees on the front foot which is the marker below 18 degrees.
For the back binding I place the disk plate at negative 12 degrees. You pretty much, should always be setting your back foot at a negative angle, but, it’s totally up to you. For example, some people will have plus 15 degrees and negative 15 degrees, which is known as duck foot stance, but again it's just what's comfortable for you.
Once I have worked out what holes I need to use on the board to get the stance width and the binding angles I want, I place both bindings over my chosen holes and line up the binding base plate so that the holes on the base plate sit over the holes on the board. Before preparing to fix them down, I always double-check that the front binding is facing the nose, so that the ratchets are tightened on the outside of the boot. It's easy to accidentally place the bindings the wrong way round, with the buckles on the inside instead of the out.
When the bindings are lined up over the chosen insert holes, I place a washer and screw above each. I check them again, before using the screwdriver to tighten each screw with just 1 rotation. The reason for not immediately tightening any of the screws completely is that you tend to find a certain amount of slipping happens when you’re tightening the screws, and the insert holes end up not lining up with the holes on the base plate. Turning each screw once holds everything in place and stops the bindings from slipping. After, turning each screw once then you can tighten them all the way.”
3. How do other people's snowboard 'set-ups' differ to yours and why?
“A lot of people who freestyle snowboard like me, have a slightly narrower stance, because it makes it easier to achieve tricks that involve quick spins and it can be less demanding on the knees. I would say, make sure you don't go too narrow as that looks weird!
You might find some people snowboarding with their bindings pointing in the same direction. They might have plus 15 degrees on the front foot and the back foot at plus 15 degrees too. This is normally used for slalom and snowboard racing; it wouldn’t work for freestyle snowboarding.
Whichever stance you initially decide to set up your snowboard bindings in, don’t be afraid to try slightly different stances to find the one that suits you. I hope knowing how I set up my snowboard helps, but if you’re unsure, speak to the experts you purchased your snowboard from before trying anything outrageous.”