5 New Tricks for Freestyle Skiers and Snowboarders to Land in 2016
29 December 2015
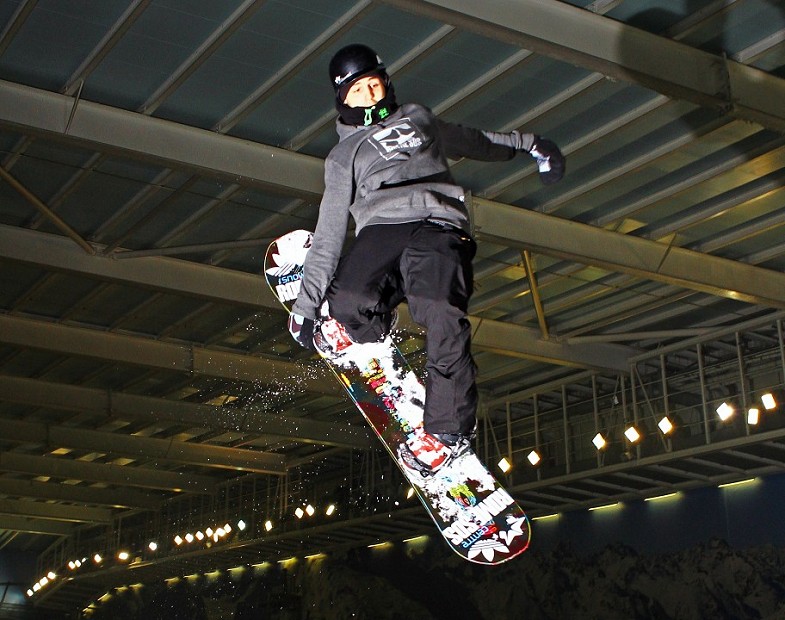
The time to consider the things we hope to achieve in the coming year has arrived! This year, achieve something for your own ego, enjoyment or just to show off to your friends and family! Skier or snowboarder, get these 5 tricks under your belt and feel awesome on the snow and in the air during 2016! Happy New Year!
If you’re interested in learning some tricks on your skis or snowboard, take a look at some of these New Year’s Resolution trick ideas from The Snow Centre’s Freestyle Manager and master of the indoor snow park, Kris Amstutz and Freestyle Ski Coach, Nick Lark!
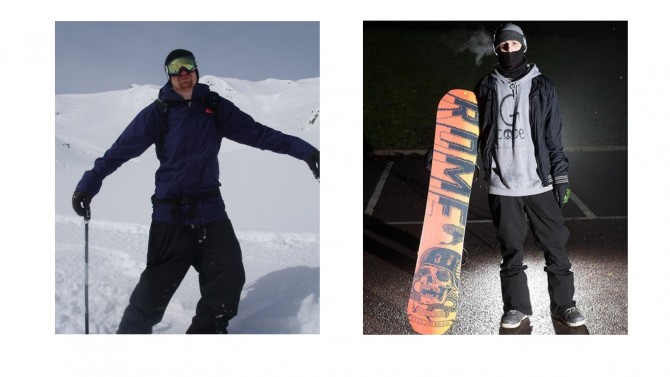 (ABOVE NICK LARK FREESTYLE COACH AND KRIS AMSTUTZ FREESTYLE MANAGER)
FOR THE SKIERS
Nick Lark, skilled Freestyle Ski Coach challenged us to have these ski tricks in the bag by the end of 2016, we’re going to give it a try and you can too! Read on to find out how to style 5 new ski tricks this year!
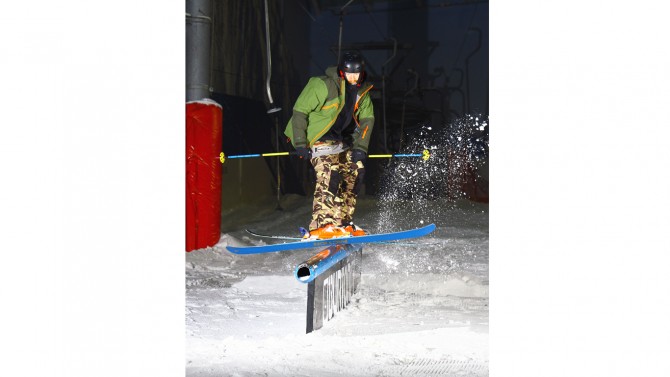
1. Side hit ski slide on a rail
“We’ll start simple, you’ll need to be happy with this trick before learning the next few on the list and you’ll first need to ensure you’re happy sliding flat boxes/straight hit rails sideways.
For this trick approach the rail with your preferred leading foot furthest from the rail, as you’ll be turning towards the rail to slide it. Approach at enough of an angle to get your feet over the rail but not too much the you jump over it. You will need enough speed to get your feet above the rail so this will differ depending on your choice of rail.
Pop off the take-off and try to keep your focus on the end of the rail, if you focus on the middle of the rail you will jump over it instead of on to it. On a side hit rail you will take off below the rail, so you need to be patient with turning your skis sideways, wait until you get above the rail then turn your ski’s sideways and place them on the rail.
Once on the rail, keep your knees bent, hands low and eyes on the end of the rail. As you reach the end of the rail keep your eyes forward and this will bring your feet back to facing forward as you drop to the snow.”
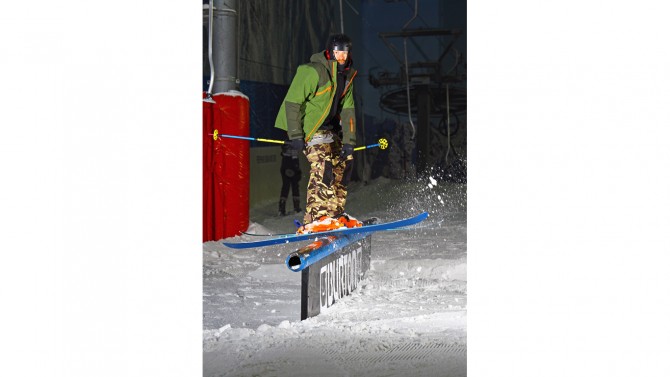
2. Ski frontside 270 out on a rail
“Spinning out of rails is your next progression and a frontside 270 is a good place to start! Frontside is the direction of the spin as it is your ‘Front’ that will face down the hill first.
In this Frontside 270, you will be spinning off the end of the rail and you will then keep spinning a total of 270 degrees so you land switch (backwards).
Once you have popped on and are locked onto the rail you need to grip the rail with your front ski, do this by pushing your front foot away from you and slightly lift your toes. This tilt in your ski will allows the edge of your ski to grip the rail (see photo). Keep your shoulders level with the rail and your eyes forward until you reach the end of the rail.
At the end of the rail you’ll need to begin to turn your shoulders down the hill, add a little pop as you turn, which will be made possible by the grip. Once in the air keep turning your head and shoulders until you face back up the hill and you can land on the snow switch and ride away.”
3. Ski backside 270 out on a rail
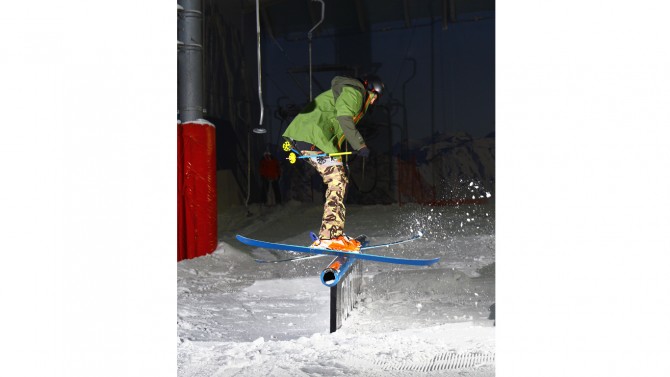
“The slightly harder of the 270’s out of a rail, is the backside 270, because you will be fully blind half way through the spin, while you spin back up the hill with your back facing down the hill first, hence the name, ‘backside’!
Much like the frontside 270, you need to grip the rail with your front ski, as you are spinning the opposite way the grip needs to be opposite too. Push your front ski ahead and gently drop your toes (see photo).
As you reach the end of the rail turn your head and shoulders back up the hill and add the pop. It is crucial to keep your body spinning to complete the full 270 and this will only happen if you keep your eyes up and looking round, if you look down your spin will stop or you will end up leaning back.”
4. Skiers Japan grab on a jump
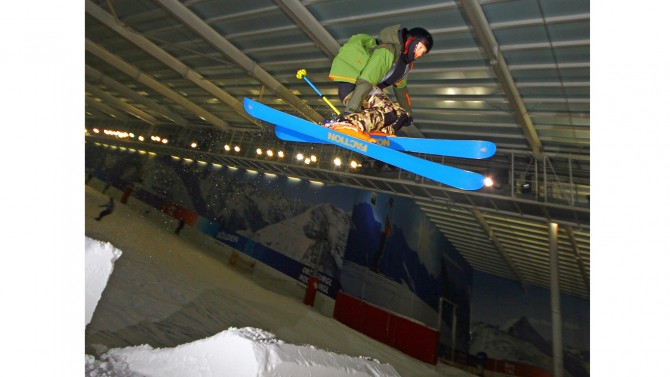
“Grabs will give you stability and style whether with a straight air or a spin, if you can do the basic Safety Grab then a Japan Grab is a good progression as it is relatively easy but looks good.
As you leave the take-off use your ankles and knees to pop, so you get up in the air and stay balanced. Once in the air start to bring your feet up towards you and drop down the hand you want to grab with, don’t look down or reach down too far as you may begin to do an accidental front flip!
With a Japan Grab, you grab one ski with the opposite hand (left hand – right ski/ right hand – left ski) just behind your heel with your hand behind the other leg. Keep the leg you are grabbing bent and extend the other leg to add to style. For counter balance keep your non grabbing hand stretched above your head. Before you land, let go of the grab and begin to extend your legs towards the landing.”
5. Skiers 180 spin on a jump
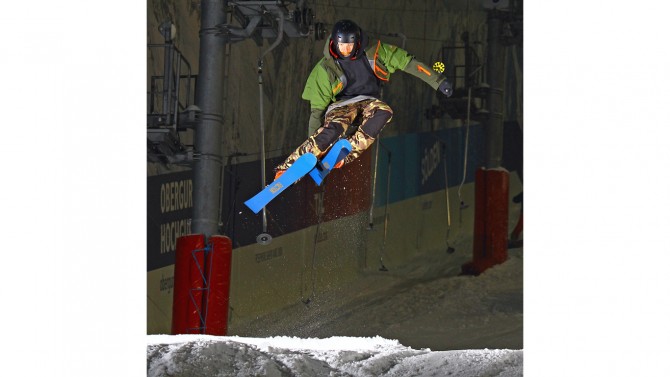
“The first spin you want to learn off a jump is a 180! Because you will be taking off forwards and landing backwards you will need to be comfortable skiing switch, and it is also worth learning to pop 180’s on flat ground first.
To complete this trick, as you leave the jump take-off you need to pop in the same way as with the grab. Once in the air slowly begin to turn your hips, shoulders and head as this will ensure your whole body spins in one movement and you don’t leave your head or feet behind.
The spin only needs to be very gentle, don’t try too hard! Try to look back at the take-off of the jump instead of at the landing, this way you won’t look down and lose your balance. As you land bend your knees and ankles to absorb the impact and once you feel balanced look over your shoulder so you can see where you are going and ride it out switch. NOTHING looks worse that spinning back round forwards straight after landing, so ride it out backwards for a bit!”
FOR THE SNOWBOARDERS
Kris Amstutz, The Snow Centre’s Freestyle Manager challenged us to have these tricks in the bag by the end of 2016, we’re going to give it a try and you can too! Read on to find out how to style 5 new snowboard tricks this year!
1. Snowboard backside boardslide on a rail
“The backside boardslide is one of the fundamentals of rail riding and is probably one of the easier tricks to learn to take to a rail from a box.
Before trying this on a rail you should have a backside boardslide locked down on a box and essentially feel comfortable with the rail you’re hitting.
When approaching the rail you want the rail to be closest to your heel edge. As you ride in you should have your front arm slightly more open than your usual riding stance and the board coming in at a little bit of an angle towards the rail.
When you reach the lip of the take-off, pop off your heel edge onto the top of the rail. As you pop you want to bring your front arm across your body and point towards the end of the rail, this should bring you and your board to the 90 degree board slide position.
Once on the rail flex your leading leg and keep almost all of your weight over that leg on the rail. Look at the end of the rail and keep your feet flat.
Spot your landing and pop off the rail, at this point your lower body will realign to your upper body and you will ride away with unbelievable steeze.
Key tips include, practicing this on boxes first and flat land (on the slope) to get the upper body counter rotation dialled in. 100% commitment makes it so much easier. Don’t look at your feet. Enjoy it!”
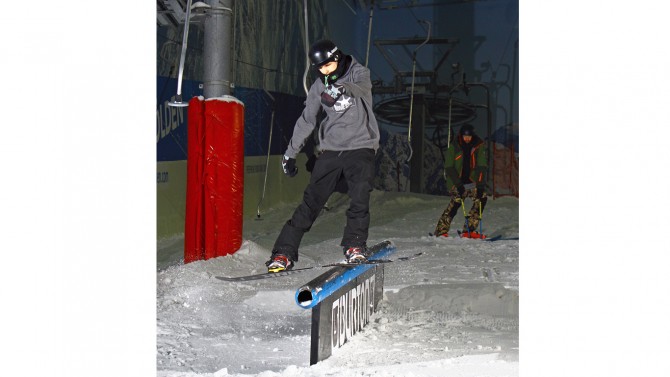
2. Snowboarders frontside boardslide on a rail
“One of the strongest tricks to have in the bag is the frontside boardslide. Before attempting the frontside boardslide you should be quite comfortable with 50-50’s as the approach is very similar.
Approach the rail so it will be closest to your toe edge. Whilst riding in you need to bring your front arm across your body in preparation for the counter rotation.
Using your toe edge pop off the take off, at this moment point your lead arm to the end of the rail this will bring your body into the frontboard position.
Relax your legs and keep your weight over your lead leg or the middle of the board. Once on the rail keep pointing at the end with your lead arm and keep looking at the end waiting to spot your landing.
Spot your landing and pop off the rail, at this point your lower body will realign to your upper body and you will have made your family proud!
Key tips include, soft legs, don’t try and stamp on the rail, keep looking at the end of the rail and never look down as this will cause you to slip on your toe edge.”
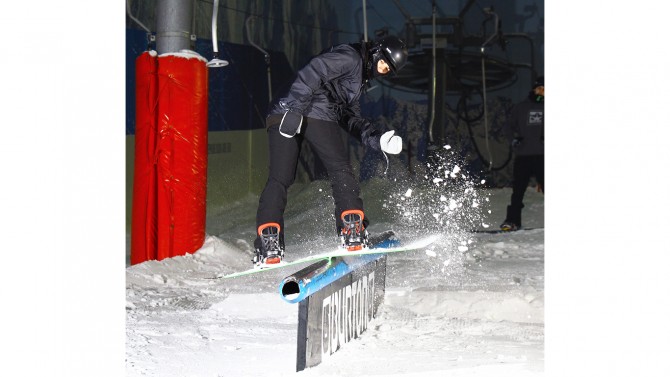
3. Snowboard frontside 180 on and backside 180 off a rail
“This trick is awesome as it can be mixed up in so many different ways, but this time we are just keeping it simple! Before trying this trick make sure you have frontside 180’s off the heels locked down and preferably switch backside 180’s too.
When approaching the rail you want the rail to be closest to your heel edge. You need to pre wind your arms to create the preparation for the 180 i.e bring your front arm across your body.
When you reach the top of the take off your board should be heading towards the rail similar line from the back board. As you pop throw your frontside 180 around so you land on the rail in a switch 5050. Some people like to put there lead foot first and almost pivot into the 180, however this takes experience to do so be careful!
Once in the switch 50-50 let your shoulders carry on the rotation, but keep your eyes at the end of the rail.
As your come to the end you need to look back up the rail to get the switch back 180 out. This can be the scary bit but commitment is key. I tend to not really spot my landing on this just relax and feel the landing.
Ride away and don’t carry on spinning around once you’re on the snow as you will lose steeze points!
Key tips: Commitment, look back up the hill to spin out, pre wind the first 180.”
4. Snowboard melon grab on a jump
“A melon grab is your front hand grabbing the heel edge of your board between the bindings. Before attempting this be comfortable with popping high and have indy grabs to a good level.
Approach the jump with the correct amount of speed to make the landing. Pop off the kicker and bring your knees up towards you.
As your knees come up bring your front hand down to the middle of your heel edge. Grab the board and hold for as long as your air time allows.Release the grab, land, and ride away.
Key tips: Bring your knees up to make the grab easier and don’t break at the waist.”
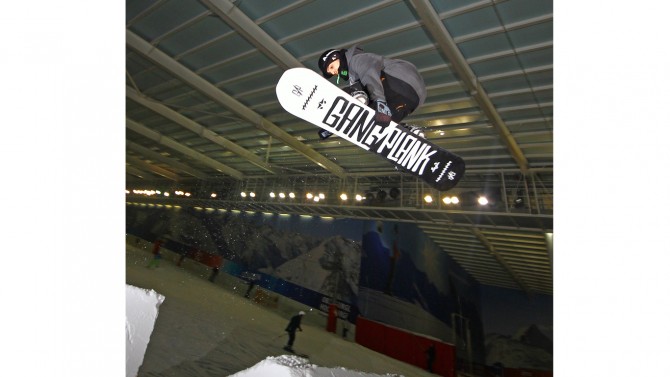
5. Snowboard backside 180 on a jump
“Forget triple corks or backflips, the backside 180 is the best trick in snowboarding! Before attempting this please be comfortable with hitting medium size jumps as back side 180s need to look stylish and smooth. Also please be comfortable riding switch as this is how you will land.
To land a backside 180, first approach the kicker with a small bit of toe edge enough to give you grip to pop and have your shoulders open a little bit, to give you a bit of pre-wind to initiate the spin.
When your reach the lip of the kicker pop and turn your shoulders and head back towards the take off. Keep your weight centred over your board and keep looking back.
You will be landing blind, some people spot the landing between their legs, but I tend to see the floor coming towards me from the way I’m looking and just compress the landing.
Once you have landed switch keep looking back up the hill for a count of 1 or 2 (enough time to get control).
Ride away switch, reverting is possibly the worst thing to do after spinning so don’t even consider it (however this may happen a few times to start with).
Key tips: commitment, once again if you don’t commit your never going to spin a full 180. Stay above the board try not to lean back or forward to much as this will cause you to cork.”
Photography - James Streater
For more information on Freestyle sessions at The Snow Centre click here!
